建構網站時,發送信件往往是重要的一項功能, 例如,當使用者註冊或變更個人設定時, 這時候網站可以發送確認信函以提高安全性; 這裡將介紹如何在 Rails 中使用 gmail 發送郵件。
設定郵件環境
編輯 config/environments/ 下的 development.rb 和 production.rb 兩個檔案,
設定 delivery_method 和 smtp_settings 如下
  # Don't care if the mailer can't send.
  config.action_mailer.raise_delivery_errors = false

  # Delivery method of mailer
  config.action_mailer.delivery_method = :smtp

  # Settings of the mailer
  config.action_mailer.smtp_settings = {
    address: "smtp.gmail.com",
    port: 587,
    domain: "gmail.com",
    authentication: "plain",
    user_name: "example@gmail.com",
    password: "12345678",
    enable_starttls_auto: true
  }
產生 Mailer
新增檔案 app/mailers/user_mailer.rb, 在 UserMailer class 中定義了一個 welcome_email method
class UserMailer < ActionMailer::Base
  default from: 你/妳的郵件地址

  def welcome_email(user)
    @user = user
    mail(to: @user.email, subject: "You have sucessfully registered.")
  end

end
信件的 views
接著,新增資料夾 app/views/user_mailer/, 並在裡面加入兩個檔案 welcome_email.html.erb 和 welcome_email.text.erb。
.html.erb 結尾的檔案支援 HTML 格式
<! DOCTYPE html>
<html>
  <body>
    <p>
      You have successfully registered.
    </p>
  </body>
</html>
而 .text.erb 結尾的檔案支援純文字格式
You have successfully registered.
設定 gmail 帳號的安全性
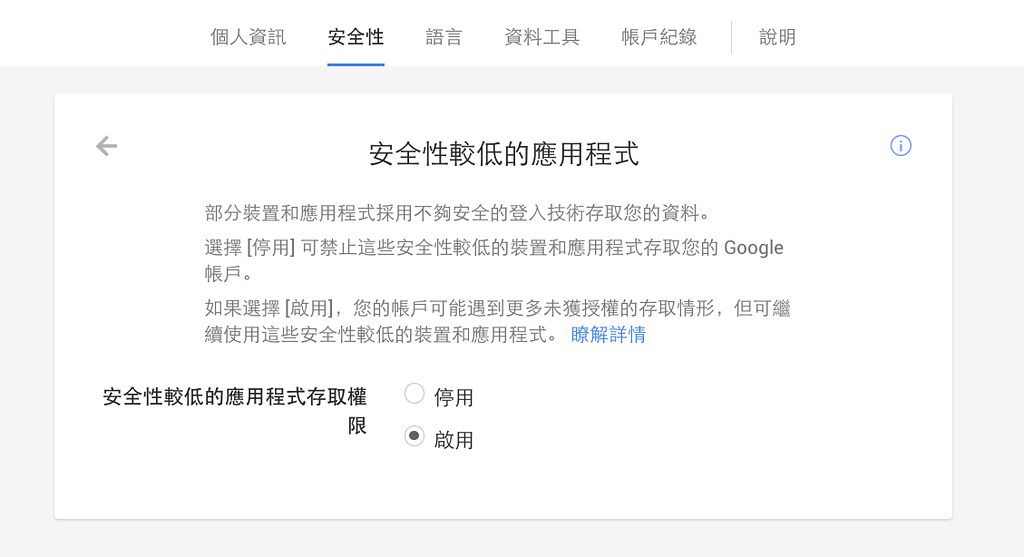
因為 gmail 預設對應用程式登入的安全性要求比較高, 會擋掉單純使用密碼登入的機制; 所以我們另外得在自己的 gmail account 中啟用安全性較低的應用程式存取權

測試郵件發送
使用 rails console 測試郵件的發送
$ rails console
Loading development environment (Rails 4.0.0)
2.1.1 :001 > UserMailer.welcome_email(User.last).deliver
如果 welcome_email 工作正常, 當使用者註冊成功後,就可以用它來自動發送歡迎信件。
備註: 每次修改 config/environments/development.rb 後, 記得重新啓動 rails server 讓新設定生效。
comments powered by Disqus